Slide 1

Slide notes: In this tutorial we will show how we can insert Input Boxes where the User may change Values on the Page. This version of the Income Statement is the Page that we will change, and we can see that it has no Input Boxes at the moment.


Slide 2

Slide notes: With Web Writer, we will choose the 'Design Layout' option.


Slide 3

Slide notes:


Slide 4

Slide notes:


Slide 5

Slide notes: We will insert 3 new Tags.


Slide 6

Slide notes:


Slide 7

Slide notes:


Slide 8

Slide notes: Next, we will let the system discover the new Tags and then we can apply the necessary Templates to them.


Slide 9

Slide notes:


Slide 10

Slide notes:


Slide 11

Slide notes:


Slide 12

Slide notes:


Slide 13

Slide notes:


Slide 14

Slide notes:


Slide 15

Slide notes:


Slide 16

Slide notes: The Template we choose is for an 'Input Box' for iesMobile.


Slide 17

Slide notes:


Slide 18

Slide notes:


Slide 19

Slide notes:


Slide 20

Slide notes:


Slide 21

Slide notes: The runtime Value Name we use will be in accordance with our Runtime Names that we have specified for the runtime record, so that when a User makes a change, the new value can be passed back for the next calculation of the page.


Slide 22

Slide notes:


Slide 23

Slide notes: We may optionally state a size for the Input Box and also a maximum number of character input to allow.


Slide 24

Slide notes:


Slide 25

Slide notes:


Slide 26

Slide notes:


Slide 27

Slide notes: Since we have 3 of these Input boxes, we can just copy this Template to the other 2 Tags to make it easier to define them.


Slide 28

Slide notes:


Slide 29

Slide notes:


Slide 30

Slide notes:


Slide 31

Slide notes:


Slide 32

Slide notes:


Slide 33

Slide notes:


Slide 34

Slide notes:


Slide 35

Slide notes:


Slide 36

Slide notes:


Slide 37

Slide notes:


Slide 38

Slide notes:


Slide 39

Slide notes:


Slide 40

Slide notes:


Slide 41

Slide notes:


Slide 42

Slide notes:


Slide 43

Slide notes:


Slide 44

Slide notes:


Slide 45

Slide notes:


Slide 46

Slide notes:


Slide 47

Slide notes:


Slide 48

Slide notes:


Slide 49

Slide notes:


Slide 50

Slide notes:


Slide 51

Slide notes:


Slide 52

Slide notes:


Slide 53

Slide notes: Note that we have used these same Names for association with our Input Boxes. Therefore, when a User changes a Value in an Input Box, then that new Value will be used to update the runtime record if the Page is re-submitted for calculation.


Slide 54

Slide notes:


Slide 55

Slide notes:


Slide 56

Slide notes:


Slide 57

Slide notes: This is what the Page looked like in operation before, and now we will process it again.


Slide 58

Slide notes:


Slide 59

Slide notes:


Slide 60

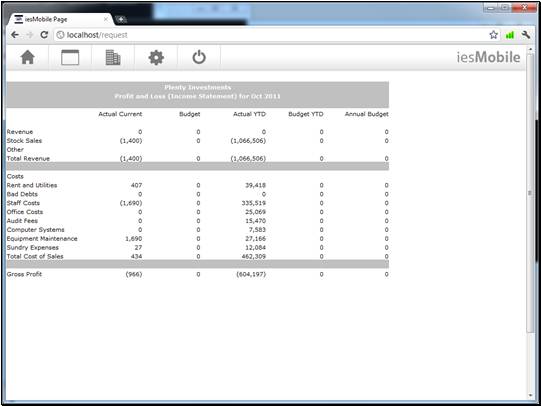
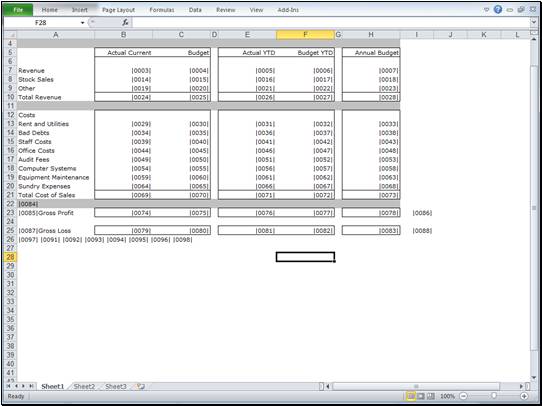
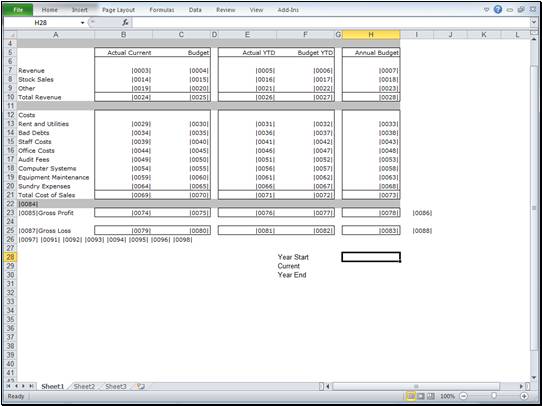
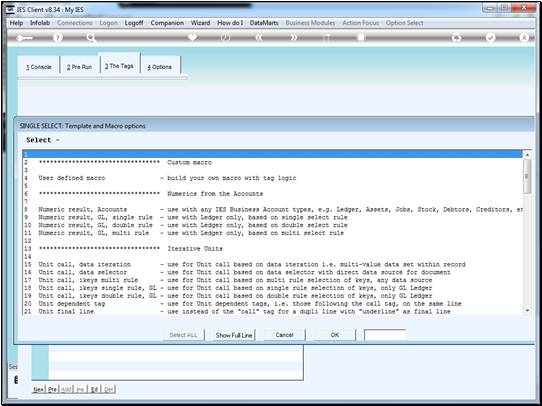
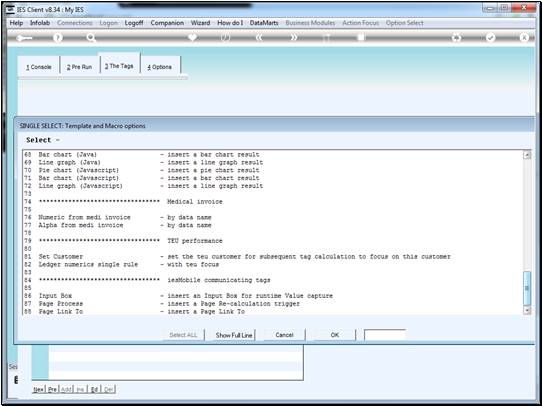
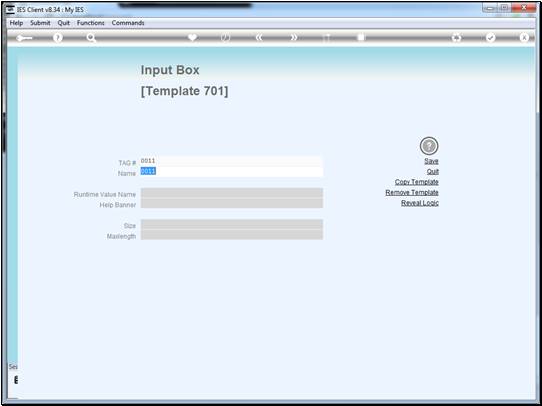
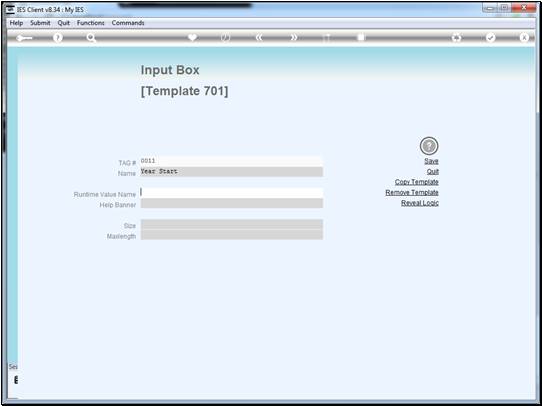
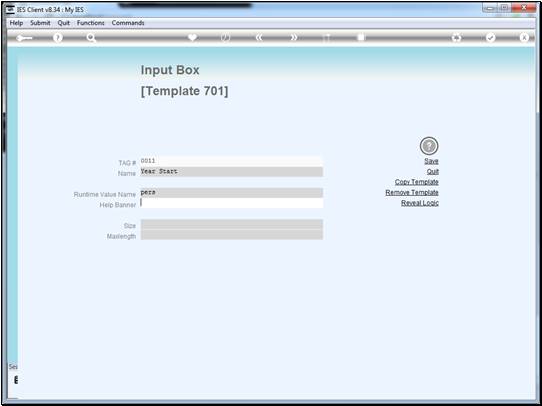
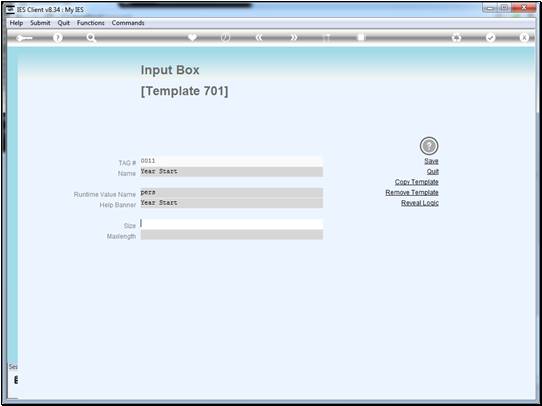
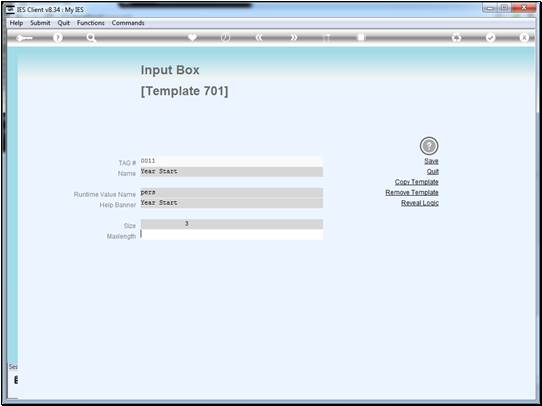
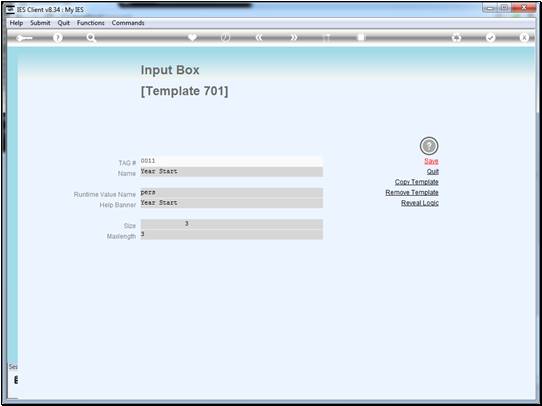
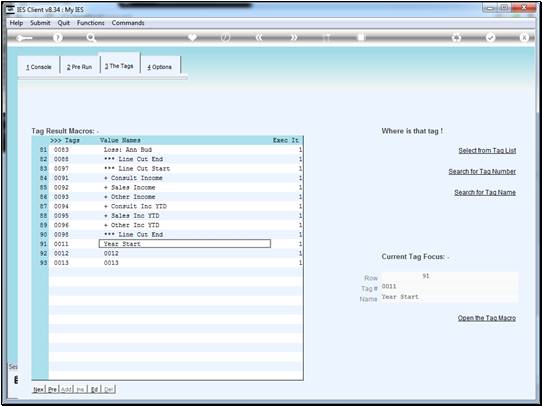
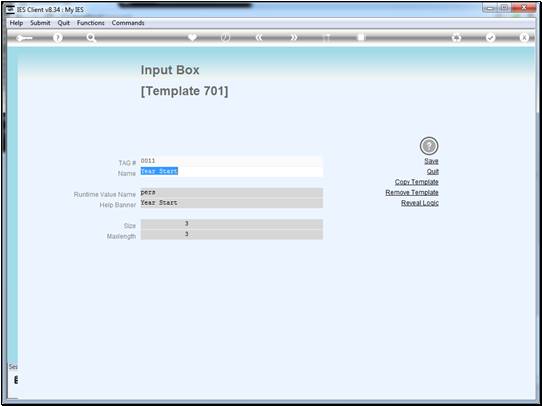
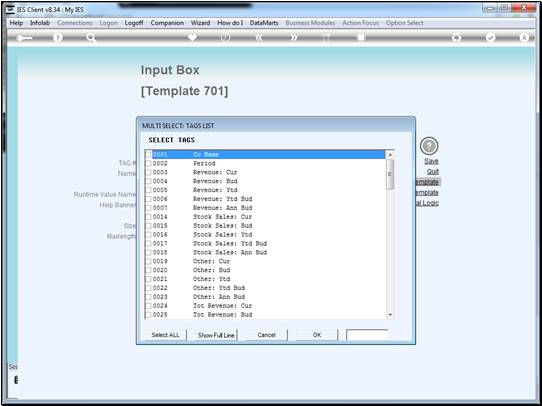
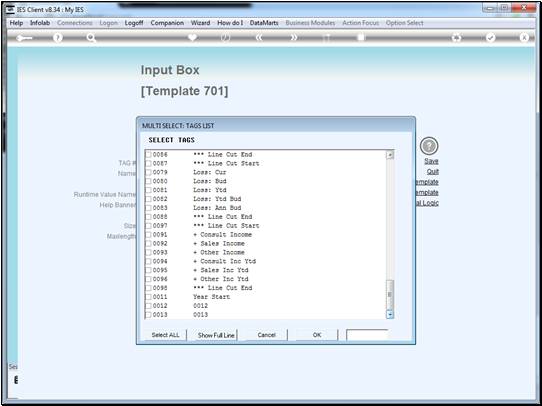
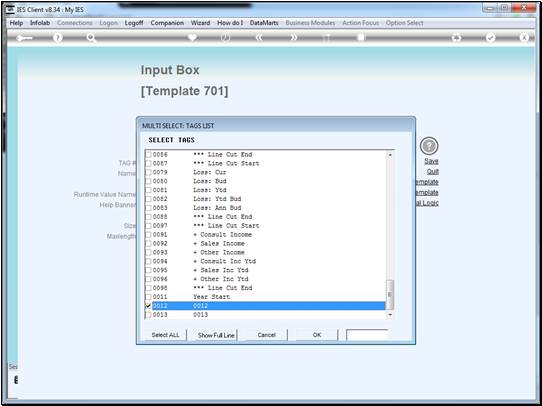
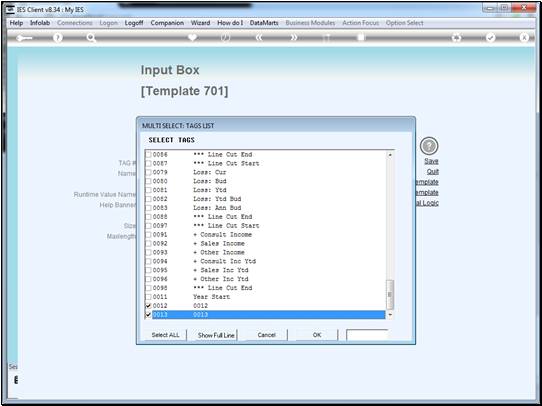
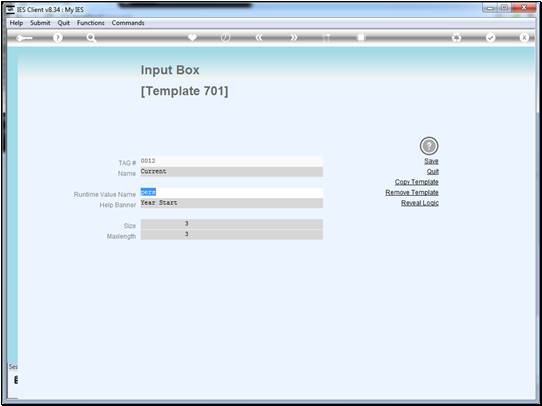
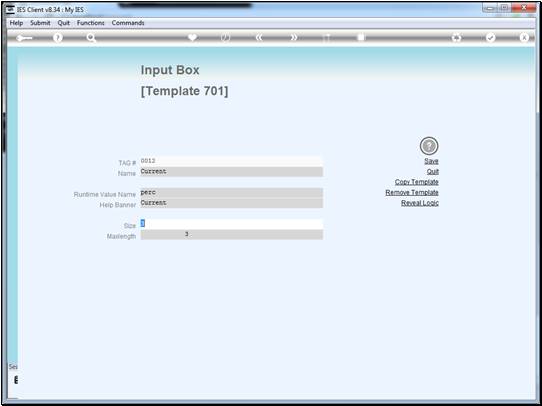
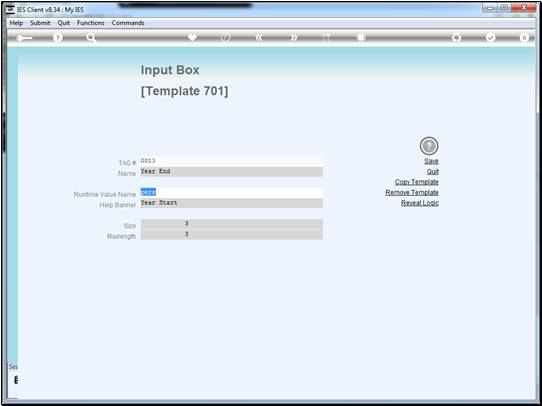
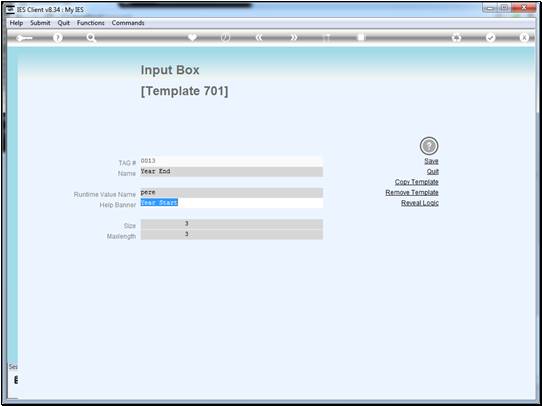
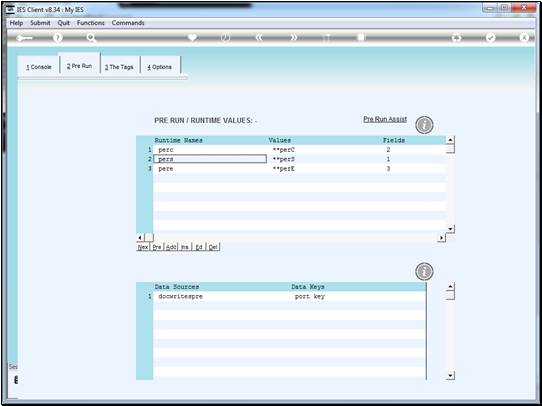
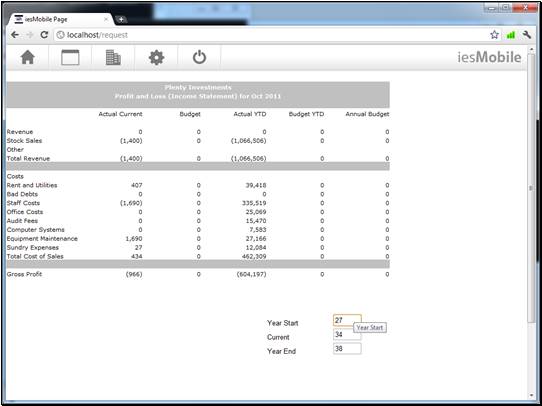
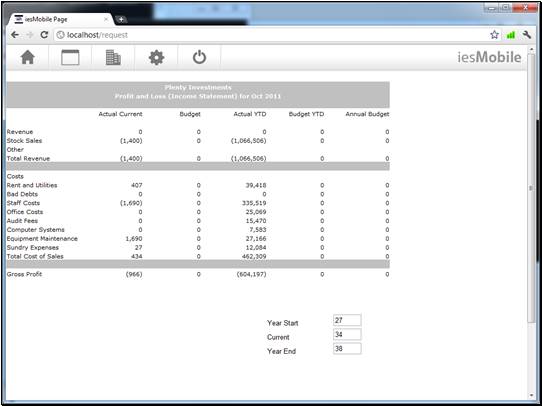
Slide notes: And now we have the 3 Input Boxes where the User may change the Period value, and then process the Page again with the new Values. However, this Page has no submit option at the moment, and we will show that as another step in the tutorial 'How to insert a Re-calculation trigger'.


Slide 61

Slide notes: