We
are busy working with a Current Service Job and in this session we are
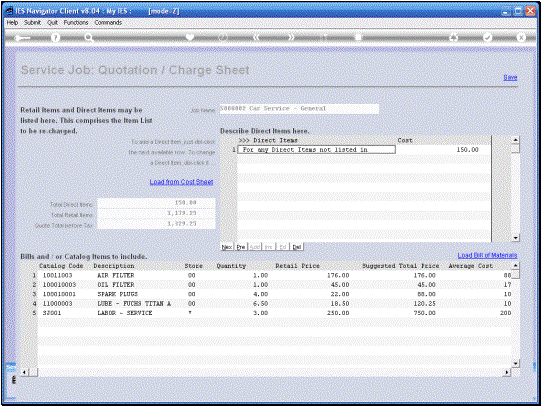
looking at the Charge Sheet wich comprises that List of Items that we are
Charging to the Customer. Of course
every Service Job must be Re-Charged. Whether to an Internal or External
Customer. |

So,
when we choose the Charge Sheet, the System Opens the Charge Sheet and we can
work on this Charge Sheet multiple times.
In other words it is not necessarily fixed and we can actually add to
the List as we continue with the Job. |
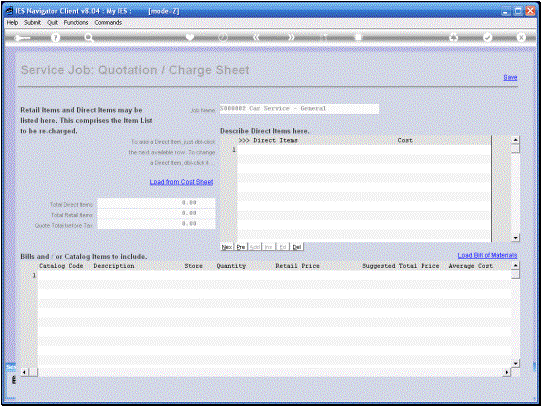
Note that we have an
Option to load from the Cost Sheet.
In this particular example the Cost Sheet has not been done yet, so
there is nothing to load from here. And
it would not be the right thing for all Service Jobs, but there are many
cases where we can simply do either the one Sheet or the other. In other
words the Cost sheet or the Charge Sheet and then load the other one from the
1st one. In this case I am
going to start by Loading a Bill of Materials. |

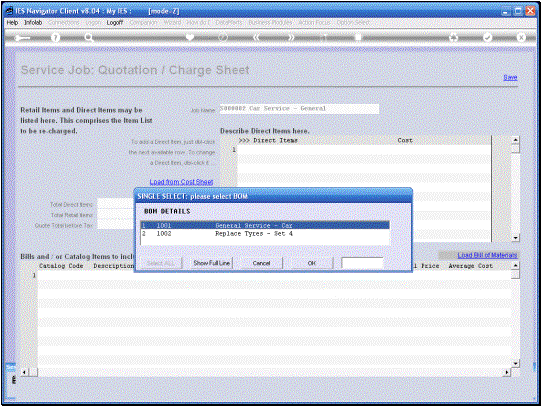
From
the Bills offered in this case I am interested in the General Service for a
car. So I am selecting that one. |

|
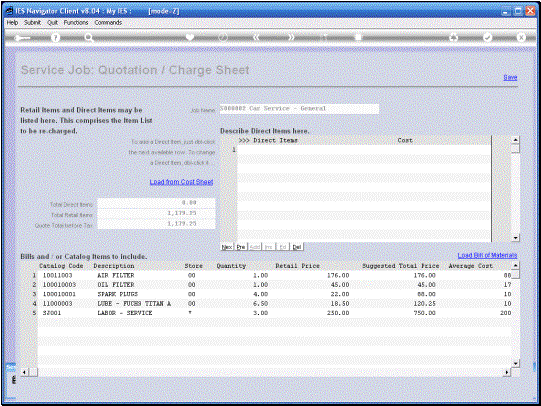
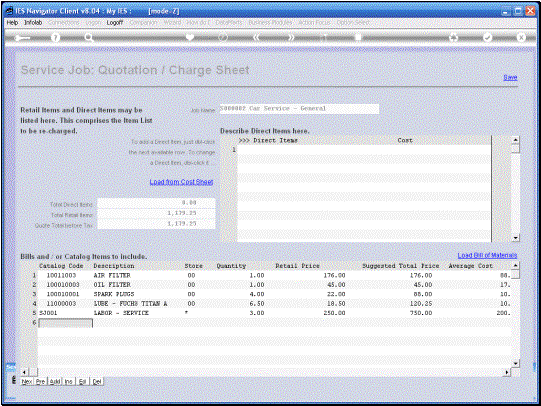
Then of course the
Charges are automatically populated from the Bill. Now notice, when we look at the detail here, we have a Catalog
code and Description. We have a
Store, Quantity, retail Price and a suggested Total Price, which is the
extended Line Item Price. Then we also have an
Average Cost. Now this is the so-called Internal cost. So in terms of Charged
to the Customer, the Charge for each line will be that shown under “Suggested
Total Price.” But in terms of the
Internal Charges for the Job. We will be using the lesser Cost and the margin
derives from the difference between these two prices. |
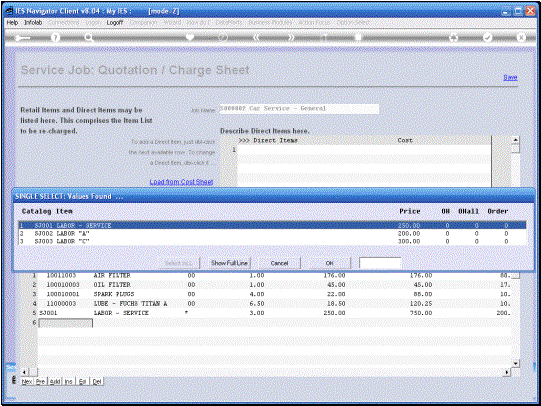
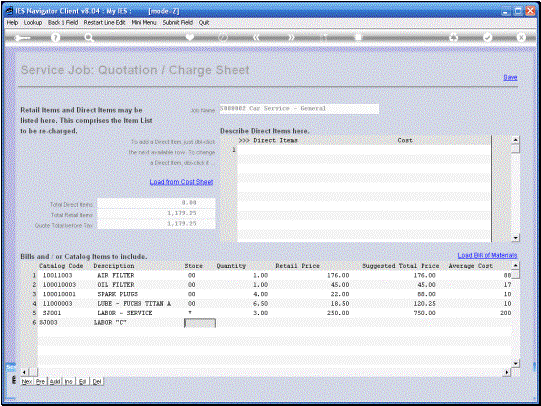
Apart
from loading one or more Bills of materials, we can also individually load
Items from the Catalog, as we will see now. |

|

|

|
|
|
|
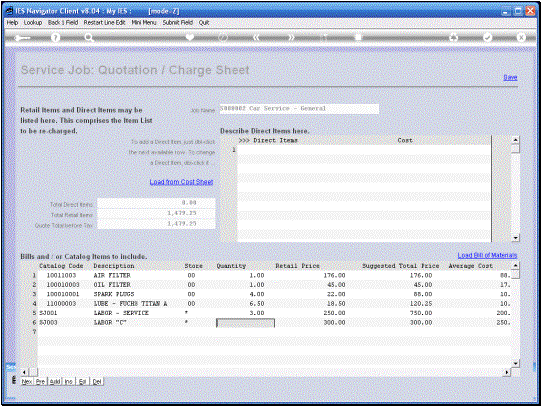
So
we see how that can be done. In this
example we do not want this particular line here. So I am going to remove it again. |

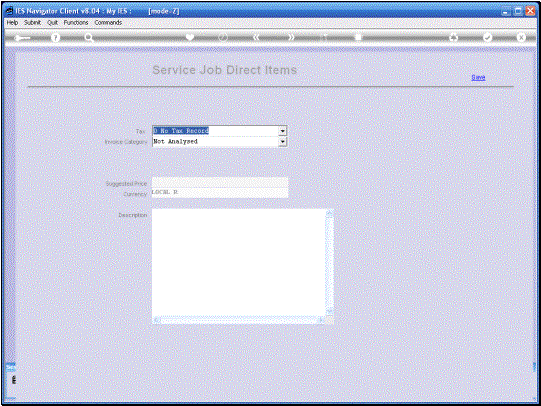
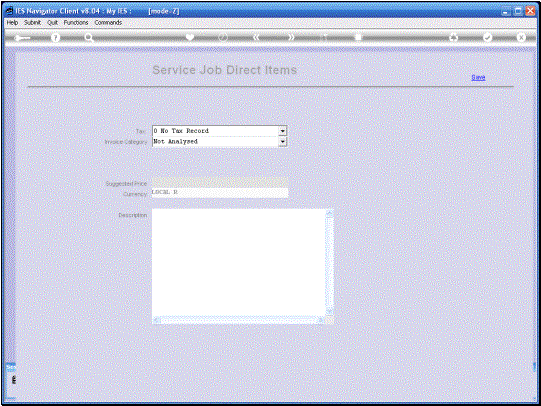
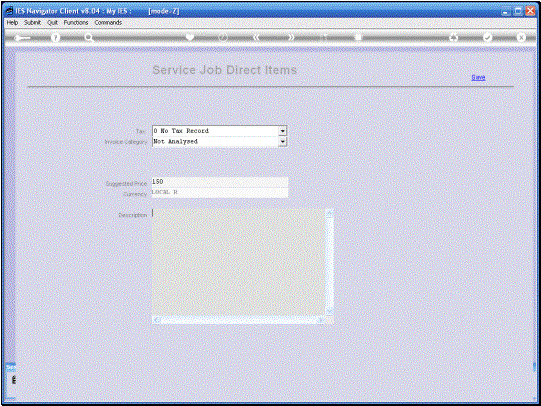
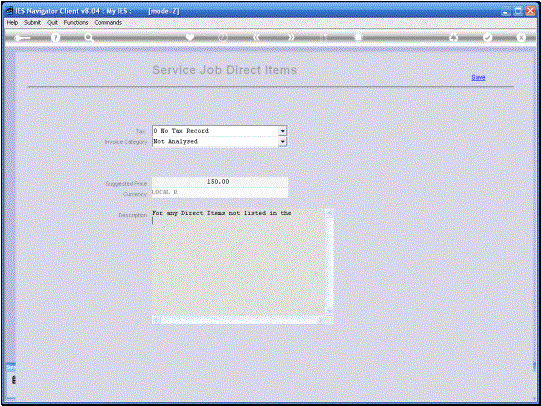
Optionally
we can also load 1 or multiple Direct Items. |

|
|
|
|
|

|
|

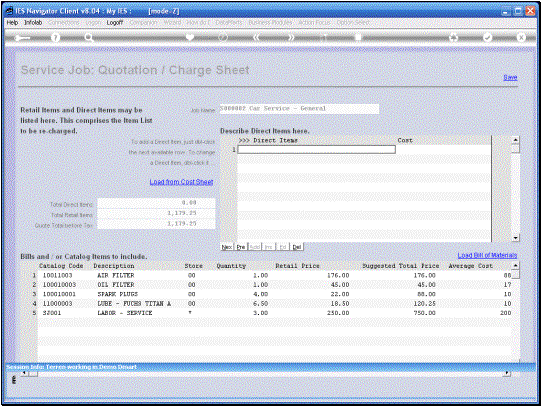
We SAVE the Charge
Sheet, but we can of course return to it any time. |
|

|
