In
this session we are going to look at how we set up a New Loan. |
Any loan is attached to
a Loan Account and one Loan Account can have up to 99 Loans. So for the same customer
we can have multiple Loans. If this is the 1st Loan for a New
Customer, then we must first do the function, “New Loan Account” to set up
the New Loan. |
|
|
|
Loans
are of course in the Loans Sub Ledger. So if we have more than one Loans
Control Account in the Ledger, then we will have to select the Loans Control
Account for this New Loan Account. |
The System will Set up
the New Loan Account with Defaults and the only mandatory thing that we still
have to do is to give the New Account a name. Optionally we can of
course also change some of the Parameters where it may be necessary and we
may also record contact details. |
|
In
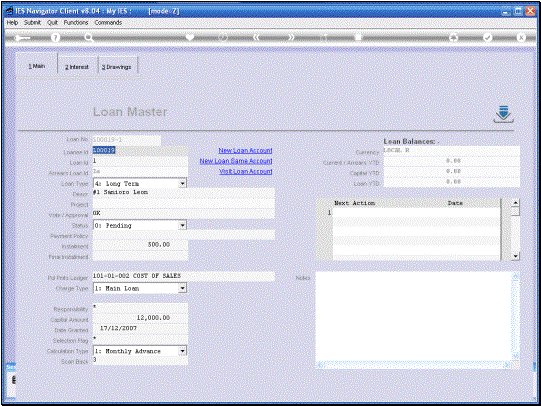
the case of an individual we can also specify the First or Given Names in the
space provided for that, but it is also not wrong to simply include it in the
Customer Name if we want to do that. |
|
|
|
|
|
|
|
|
The
Settings are done by Default and it is usually not necessary to change any of
these. |
“Contact
Detail” can be specified at this stage or later. In other words we can
actually Open the Account now without specifying the Contact detail and we
can do that later if we want to. |
|
|
|
|
|
The
Loan Account is now established and Open and the System prompts us to select
a Loan Template so that the New Loan can be established. |
Once we select the
Template, the System will use that to establish the 1st Loan,
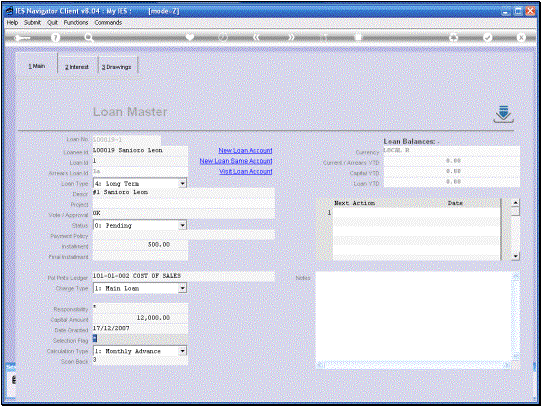
which for a 1st Customer will always be Loan No 1, as for this
particular Customer. |
|
There is very little
else that we need to do, but we can look at the Current Settings and change
anything that should be different. For example if the Loan
Type is different from the Template that we selected, we can change it. |
|
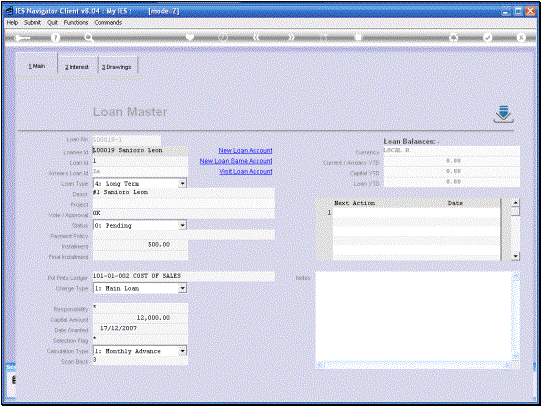
The “Vote/Approval” No
is an internal reference No for the Approval to grant this particular Loan. If that is not in use,
we can simply specify something else like “OK” in this case. Note also that the
System defaults the Status of the New Loan to Pending and we cannot make it
Active until we have a Vote or Approval specified. |
|
|
|
|
|
We
do not have to specify the Installment at this particular time, but we cannot
make the Loan Active until we have specified the Installment. |
Final
Installment is optional and if not specified it is assumed to be the same as
the Installment. |
|
|
|
|
|
|
|
|
The
Capital Amount can also be specified later, but once again it is a
prerequisite before the Loan Status can be changed to Active. |
|
|
“Date
Granted” will usually also be specified when we specify the Capital. |
|
|
|
The
settings specified here are all picked up from the Loan Template but of
course we can look at these and make any changes where it may be required. |
There
is nothing that we need to specify here at the Drawings. This is really an information part of the
Loan Master Record which will show us as the Loan is used, the various
Drawings. Also when we use those
functions of Loans it will show the Purchase Orders and Stores Drawings and
so on. |
So
this Loan is specified now. If we “Save” it, then it
comes into existence. |
|
Now for the sake of this
example we are going to suggest that this particular Customer gets a 2nd
Loan as well. |
|
|
|
Because this is a New
Loan, but an existing Customer, we do not use the New Loan Account Function. We only use the New Loan
Function. |
So the System will offer
us the available Templates if any are defined, and once we select that, it
will Open the 2nd Loan on this Customer. Because so far there is
one Loan on this Customer Account. |
|
|
|
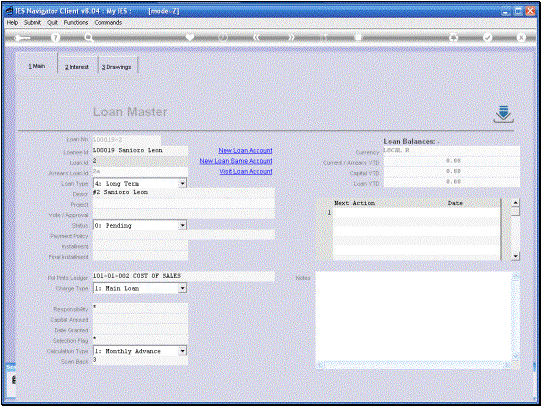
So this will be Loan No
2 on the same Account and any other actions here will be similar to what we
have done with Loan No 1. |


