Slide 1

Slide notes: A grid is another term for a mini data table, and as we work with IES we encounter many grids on different screen forms. There are 2 here. This is a grid.


Slide 2

Slide notes: And this is a grid. We can navigate to a specific cell by clicking there or by using the arrow keys.


Slide 3

Slide 
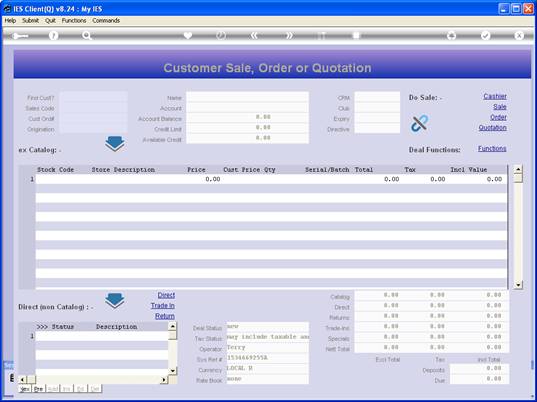
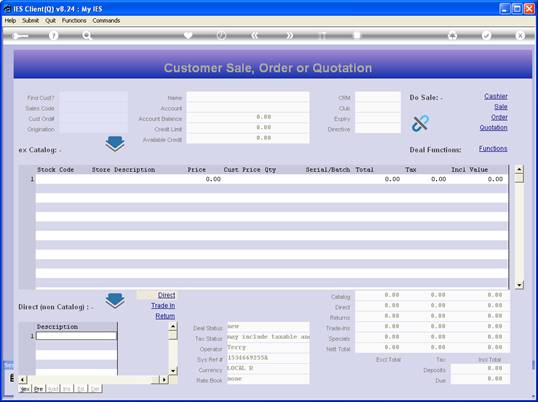
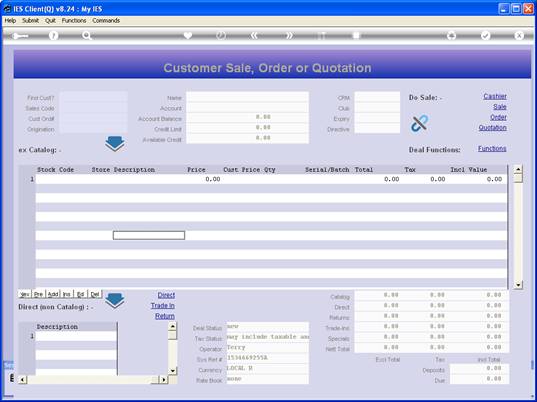
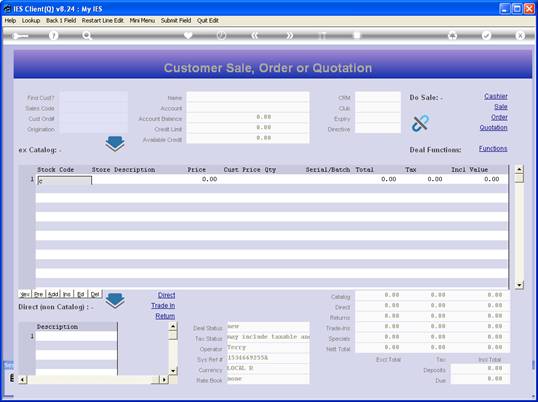
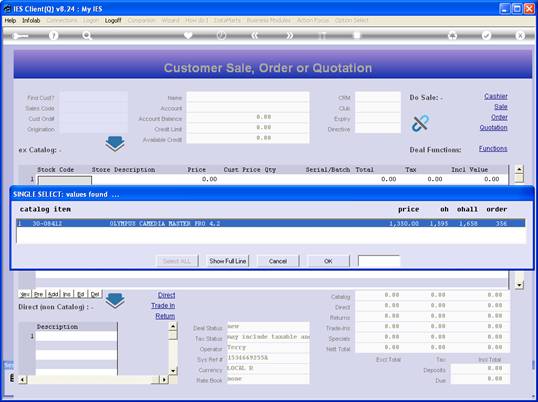
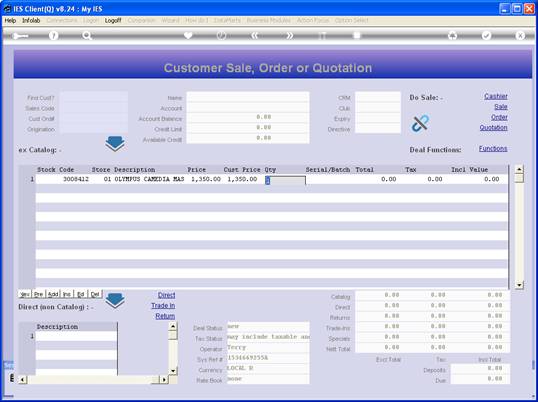
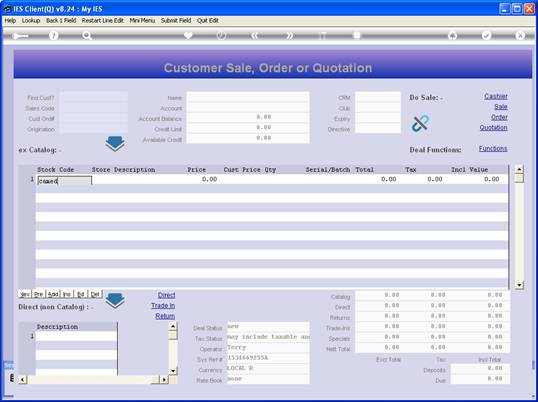
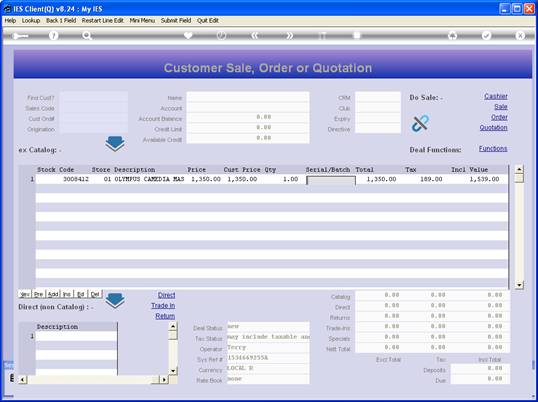
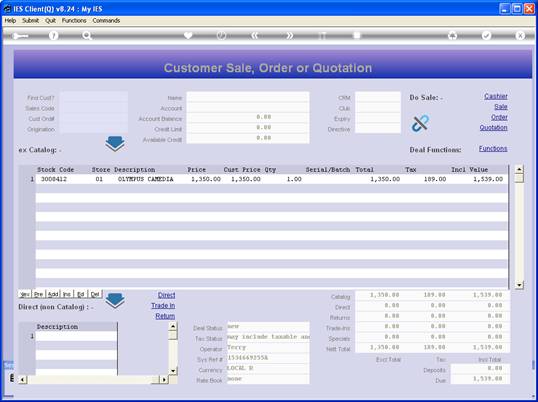
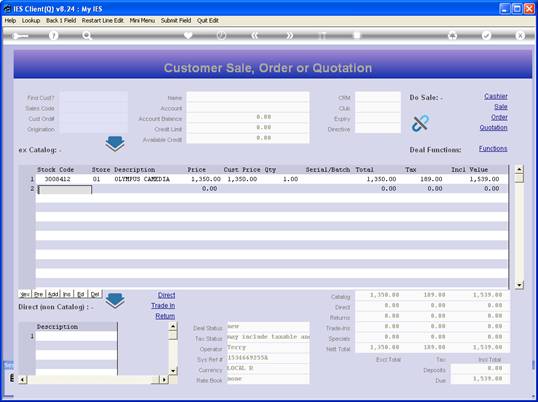
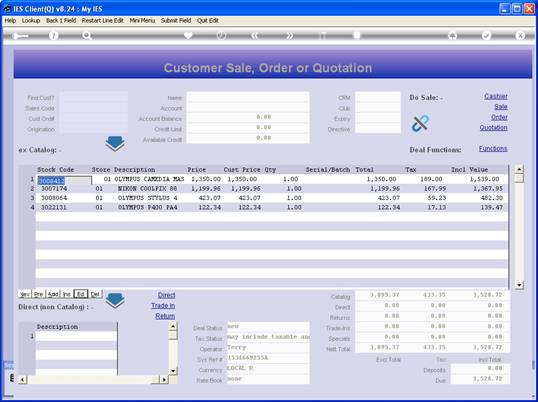
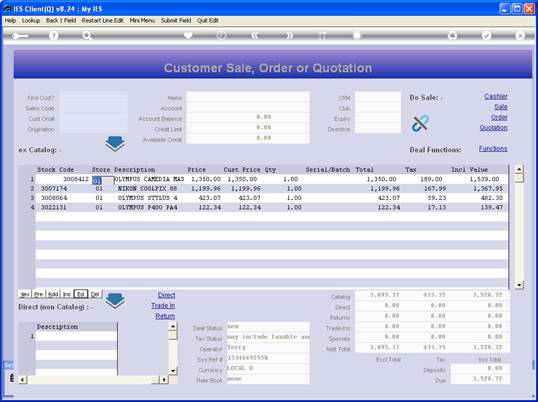
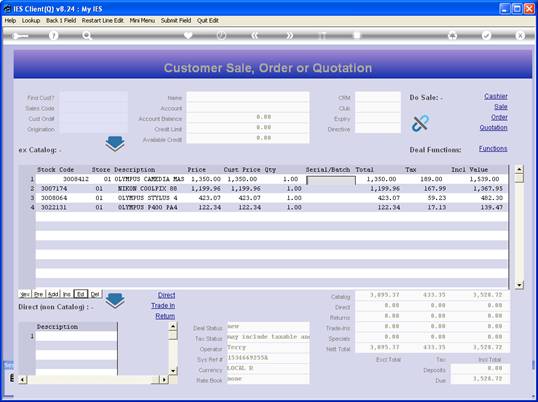
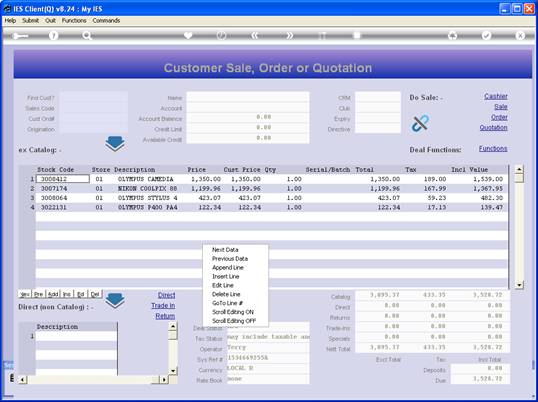
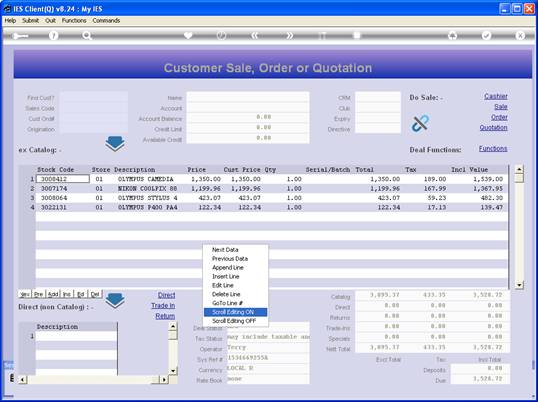
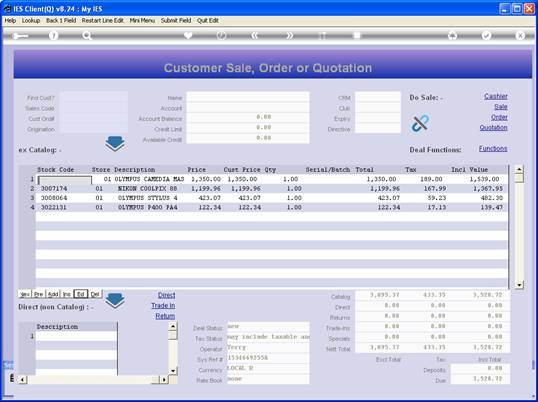
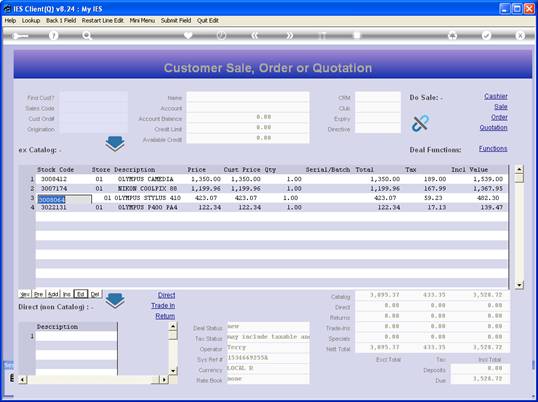
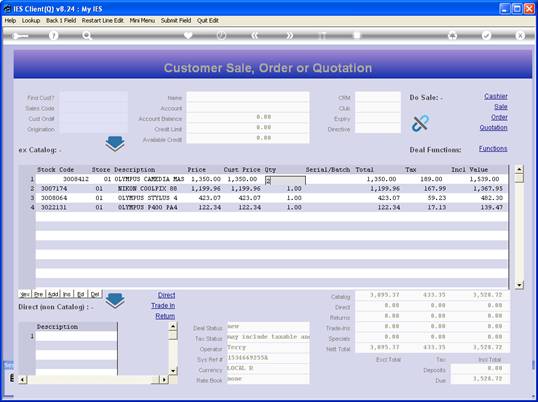
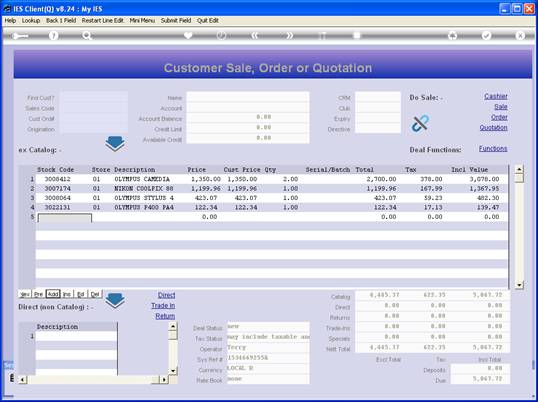
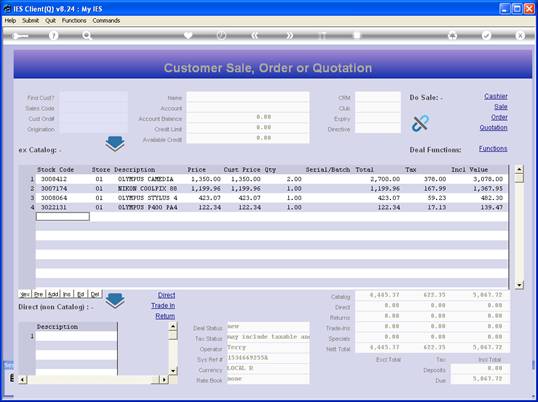
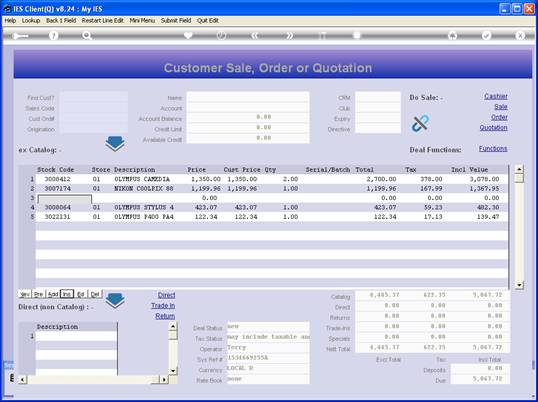
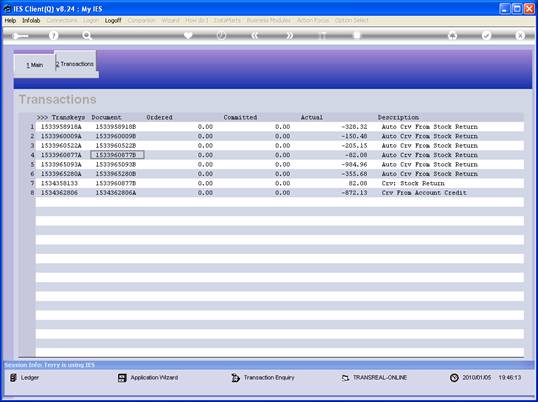
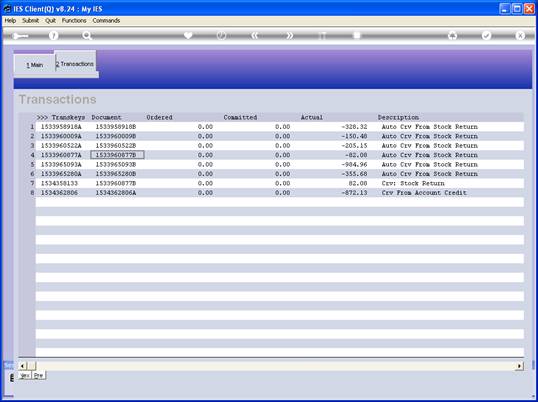
notes: Grids are quite intuitive and generally speaking, when a grid allows editing, we can just start typing on a cell to edit it, or we can dbl-click, or we can use the Edit, Insert, Add and Delete functions listed below a grid that has focus.


Slide 4

Slide notes:


Slide 5

Slide notes:


Slide 6

Slide notes:


Slide 7

Slide notes:


Slide 8

Slide notes: It is important when capturing a new line to finish the complete line, and let the focus move to the next line before we press ESC or click elsewhere, because if a new line is closed before it is complete then it is not retained, because it is not complete. If we close this line now, then we lose it.


Slide 9

Slide notes: So let's repeat it now.


Slide 10

Slide notes:


Slide 11

Slide notes:


Slide 12

Slide notes:


Slide 13

Slide notes:


Slide 14

Slide notes:


Slide 15

Slide notes: The 1st line is now complete, and the cursor has moved to the next line. We can continue editing, or we can close the grid now, because the 1st line is complete and will be retained.


Slide 16

Slide notes:


Slide 17

Slide notes: Now let us demonstrate how we can edit existing data lines in the grid, by using the EDIT function listed below the grid.


Slide 18

Slide notes:


Slide 19

Slide notes:


Slide 20

Slide notes:


Slide 21

Slide notes:


Slide 22

Slide notes:


Slide 23

Slide notes:


Slide 24

Slide notes:


Slide 25

Slide notes: Notice how the editing stops automatically after the complete line has been edited. That is because scroll editing has been switched OFF. Now let's right-click on the grid and switch scroll editing back ON again and note what happens.


Slide 26

Slide notes:


Slide 27

Slide notes:


Slide 28

Slide notes:


Slide 29

Slide notes:


Slide 30

Slide notes:


Slide 31

Slide notes:


Slide 32

Slide notes:


Slide 33

Slide notes:


Slide 34

Slide notes:


Slide 35

Slide notes:


Slide 36

Slide notes:


Slide 37

Slide notes:


Slide 38

Slide notes:


Slide 39

Slide notes:


Slide 40

Slide notes:


Slide 41

Slide notes:


Slide 42

Slide notes:


Slide 43

Slide notes:


Slide 44

Slide notes:


Slide 45

Slide notes: So this time, editing just continues line after line until we stop it by pressing ESC or clicking outside the grid.


Slide 46

Slide notes: We can also edit down a column, by dbl-clicking a cell and starting to edit.


Slide 47

Slide notes:


Slide 48

Slide notes:


Slide 49

Slide notes:


Slide 50

Slide notes:


Slide 51

Slide notes:


Slide 52

Slide notes:


Slide 53

Slide notes: When editing cells, it is also important to move to the next cell before closing or using ESC, in order to retain the last change.


Slide 54

Slide notes: The NEXT and PREVIOUS functions can be used to page forward and back on the grid data.


Slide 55

Slide notes:


Slide 56

Slide notes: The ADD function can be used to append a new line at the end of the current data, or just click there and start editing.


Slide 57

Slide notes:


Slide 58

Slide notes:


Slide 59

Slide notes: The INSERT function is used to insert a line immediately above the current cursor position.


Slide 60

Slide notes:


Slide 61

Slide notes:


Slide 62

Slide notes:


Slide 63

Slide notes: And the EDIT and DELETE functions can also be used in this fashion, but the easiest way to delete a line is to just press the DELETE button on the keyboard and if 'delete' is allowed on the grid, then the line is deleted.


Slide 64

Slide notes:


Slide 65

Slide notes: Grids always have rules, and these rules can be different from one screen form to the next, depending on the functionality of the screen form. Some grids cannot be edited, as in this example.


Slide 66

Slide notes: Note that there are no EDIT, DELETE, ADD or INSERT functions listed in this case. Sometimes, these functions are present but are dimmed, also indicating that they cannot be used on the specific grid.


Slide 67

Slide notes: Note the indicator of a function on this grid. Whenever we see the function indicator, it means that a dbl-click on a data line on this grid will either result in a drilldown or some other function will be opened.


Slide 68

Slide notes:


Slide 69

Slide notes:


Slide 70

Slide notes:


Slide 71

Slide notes:


Slide 72

Slide notes:


Slide 73

Slide notes: In this example, any Transaction Line that we double-click immediately drills into another screen to show the Transaction detail.


Slide 74

Slide notes:


Slide 75

Slide notes:


Slide 76

Slide notes: So the grids are quite useful and easy to use, especially when we know the basic guidelines.


Slide 77

Slide notes: